Views: 2 Author: Grace Gong Publish Time: 2020-03-25 Origin: KERUIDA


In today's modern world, the demand for efficient and reliable electrical systems is higher than ever before. Whether it is in residential, commercial, or industrial settings, having the right electrical outlets and sockets is crucial for a safe and convenient power supply. One such innovative solution that has gained popularity is the flush mounted Schuko socket.

Why should you use the flush mounted Schuko socket?
The Schuko socket, also known as the Schuko plug or CEE 7/4, is a standard electrical socket widely used in Germany and other European countries. It is recognized for its distinctive design and exceptional safety features. The flush mounted variant takes this already impressive socket to the next level by seamlessly integrating it into walls or other surfaces, offering a sleek and unobtrusive appearance.
One of the primary reasons to consider using a flush mounted Schuko socket is its enhanced safety features. Safety should always be a top priority when it comes to electrical installations. The Schuko socket is equipped with a grounding contact that provides a reliable connection to the earth, significantly reducing the risk of electric shock. Additionally, its unique design featuring side grounding clips ensures a secure and stable connection, preventing accidental disconnection.
Another advantage of the flush mounted Schuko socket is its versatility and compatibility. It is designed to accommodate a wide range of electrical appliances and devices, making it suitable for various applications. From kitchen appliances to office equipment, the flush mounted Schuko socket can handle the power demands of modern electrical devices efficiently. Its compatibility with both two-pin and three-pin plugs further adds to its versatility, allowing you to connect different types of devices without any hassle.
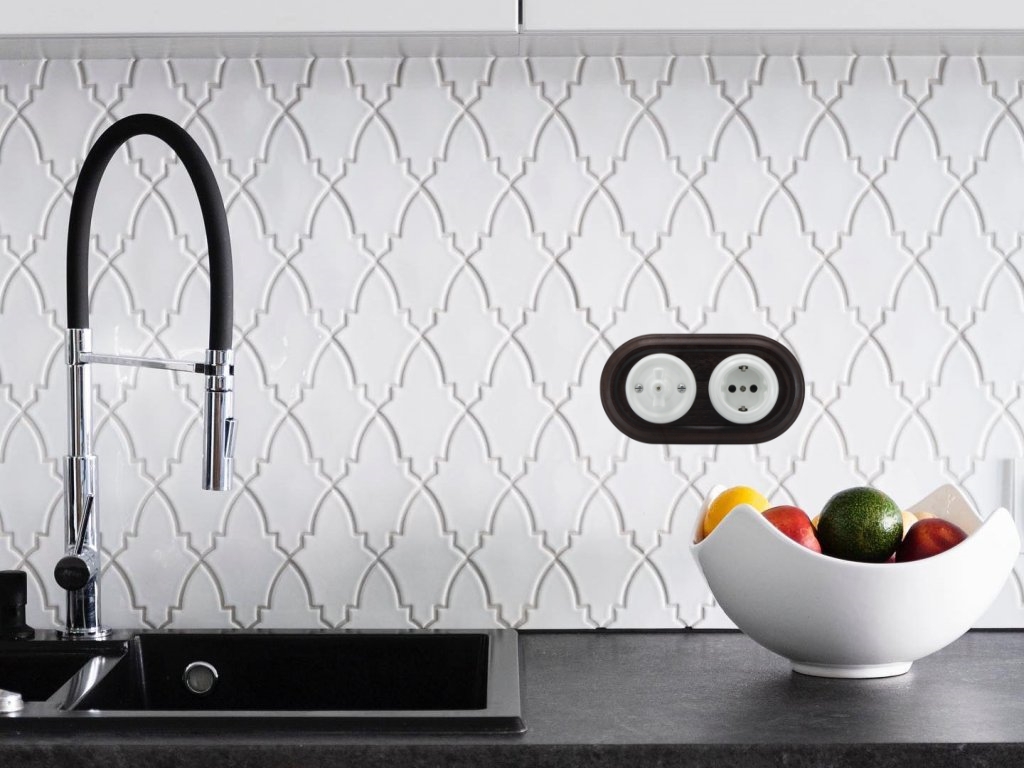
Furthermore, the flush mounted Schuko socket offers convenience and aesthetic appeal. Its flush-mounted design seamlessly blends into the surrounding surface, providing a clean and uncluttered appearance. This is particularly advantageous in modern interior designs where minimalism and sleekness are highly valued. The socket's discreet presence ensures that it does not disrupt the overall aesthetic of a room while still providing easy access to power whenever needed.

How to install a Schuko socket?
Step 1: Gather the necessary tools and materials
Before you begin the installation process, ensure you have all the required tools and materials at hand. This includes a Schuko socket, a screwdriver, wire strippers, electrical tape, a voltage tester, and appropriate wiring.
Step 2: Turn off the power supply
Safety should always be the top priority when working with electrical installations. Locate the main electrical panel in your home or workplace and switch off the power supply to the area where you will be installing the Schuko socket. To be absolutely certain, use a voltage tester to verify that there is no electrical current flowing through the wires.
Step 3: Remove the existing socket (if applicable)
If you are replacing an old socket with a Schuko socket, carefully remove the existing socket from the wall. Unscrew the faceplate and disconnect the wires by loosening the terminal screws. Take note of the wire colors and their corresponding terminals for future reference.
Step 4: Prepare the wires
Once the old socket is removed, prepare the wires for connection to the Schuko socket. Strip the insulation from the ends of the wires using wire strippers, ensuring that an appropriate length of bare wire is exposed for secure connections.
Step 5: Connect the wires
Refer to the Schuko socket's instruction manual or labeling to identify the appropriate terminals for connection. Most Schuko sockets have clearly marked terminals for live (L), neutral (N), and ground (E) wires. Connect the corresponding wires by inserting them into the designated terminal slots and tightening the terminal screws securely.
Step 6: Insulate the connections
To ensure safety and prevent any accidental contact with live wires, insulate the connections by wrapping electrical tape around each terminal. This step helps to protect against potential electrical shocks and short circuits.
Step 7: Secure the Schuko socket
Once the connections are properly insulated, carefully push the Schuko socket back into the wall cavity. Align the screw holes on the socket with those on the wall box and use a screwdriver to securely fasten the socket to the wall. Ensure that the socket sits flush against the wall surface.
Step 8: Test the installation
After securely fastening the Schuko socket, restore the power supply by turning on the main electrical panel. Use a voltage tester to verify that the socket is receiving the correct voltage and that it is functioning properly.


Installing a Schuko socket can be a straightforward process if done correctly and safely. However, it is crucial to remember that electrical work should be carried out by professionals or individuals with the necessary knowledge and experience. By following the step-by-step guide provided in this article, you can ensure a successful installation of a Schuko socket in your home or workplace, enhancing both convenience and safety.
